
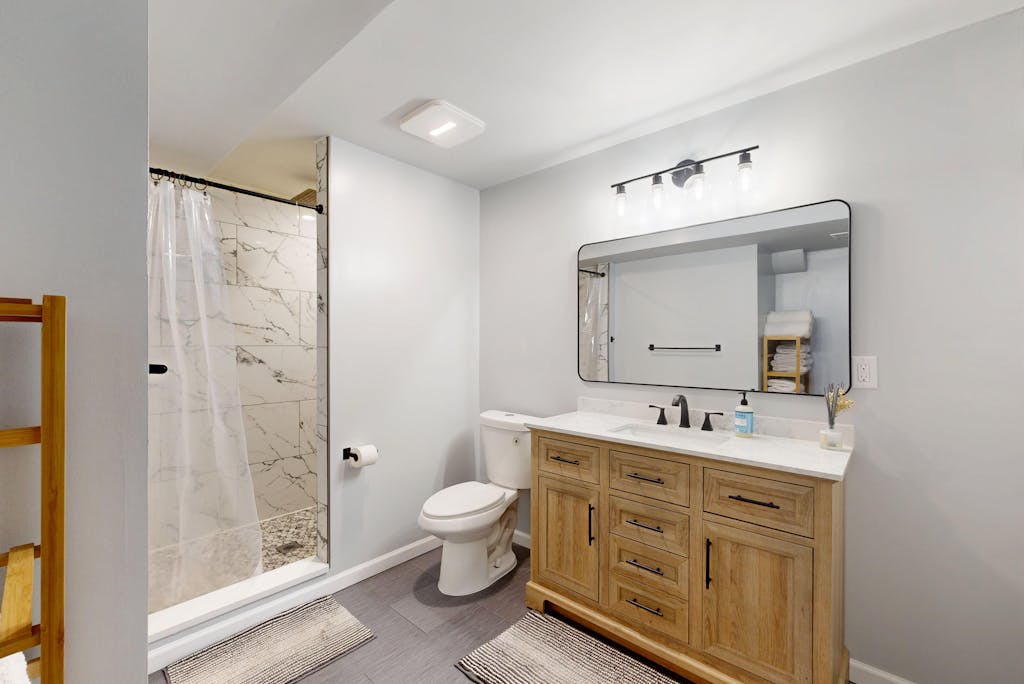
Upgrading your bathroom vanity can completely transform the look of the space while improving functionality. Installing a vanity on your own might seem challenging, but with the right steps, it’s easier than you think. Here’s how to install a bathroom vanity the simple way.
Measure and Prepare
Start by measuring your bathroom and the new vanity to ensure a proper fit. Turn off the water supply and disconnect the plumbing underneath the sink. Remove the old vanity carefully without damaging the walls or floor.
Assemble the Vanity
If your vanity requires assembly, follow the manufacturer’s instructions. Ensure all components are secured and aligned before moving the unit into your bathroom.
Level and Secure
Place the vanity in position and double-check that it’s level. Use shims if needed to fix any unevenness. Once the vanity sits flush against the wall, secure it using screws or brackets.
Install the Sink
Attach the sink top or countertop to the vanity, ensuring it’s centered and secure. Use silicone caulk along the edges to seal any gaps and prevent moisture from seeping in.
Reconnect Plumbing
Reconnect the plumbing, including water supply lines and the drainpipe. Check for leaks and make adjustments as needed to ensure everything is sealed tightly.
Add Finishing Touches
Clean the surrounding area and install any additional hardware, like handles or knobs. Finish by reattaching the faucet and any accessories to complete the new look.
Installing a bathroom vanity yourself saves money and adds a fresh touch to your space. With these simple steps, you can enjoy a hassle-free installation process and a gorgeous upgraded bathroom.


Related Articles

Multifunctional Furniture for Space Optimization
Making the most of limited space requires practical solutions, and multifunctional furniture...

Smart Kitchen Appliances for Modern Living
Smart kitchen appliances are transforming homes by making cooking and meal preparation...

Memory Foam vs Latex Beds Pros and Cons
Choosing the right mattress is key to restful sleep, but with so...
Choosing Generic Home Decor for Rental Properties
When decorating a rental property, using generic home décor is an affordable...